
How to Create Snapchat Filters
If you’re wondering how to make a Snapchat filter, don’t worry it’s a lot easier than you might think. Create Snapchat filters that can be used for parties, business events, or fun nights with friends. They add an extra element of sophistication to any photo taken by someone who loves photography any time is a good time for filters! But enough talk let’s make a Snapchat filter.
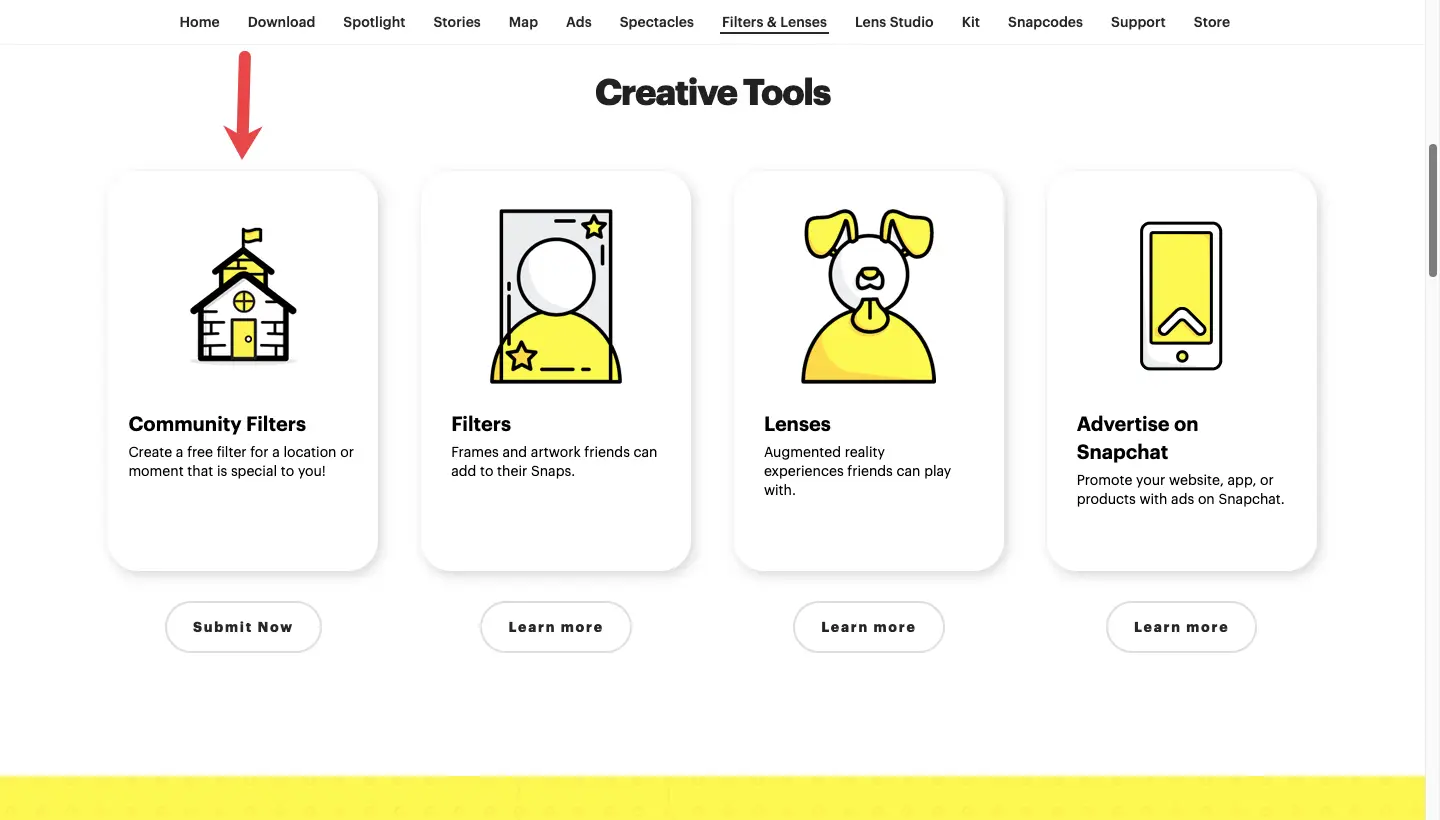
Understanding Create Snapchat Filters
Snapchat has overlays that can be placed on your pictures or videos. These are called filters. They can be static, dynamic, or even interactive with facial movements. Creating a filter allows you to adjust it to your needs and objectives.
Beginning to Create Filters
Make sure you have a Snapchat account first. If you don’t have one, download the app and sign up. After setting up your profile, visit Snapchat’s official website and navigate to their filter creation tool.
Designing Your Snapchat Filter
Your laugh starts here! The first step is choosing a theme for your filter. No matter if it is a marriage ceremony birthday bash or a corporate event, having a distinct theme will assist in the preparation process through design determination. You could use graphic design tools like Adobe Spark, Canva, or even Snapchat’s built-in system to create a filter. Don’t forget to include catchy text and fun graphics that will make your filter stand out.
Technical Requirements
Unique requirements are necessary for Snapchat filters. Have a design that has dimensions of 1080 x 1920 pixels and save it with a transparent background as a . PNG file. Ensure the size of the file does not go beyond 300KB as well.
Uploading Your Snapchat
Design creation can be done away from Snapchat. Navigate through the platforms where filters are created. While there, you will upload it and present your design.
Geofencing (Optional)
Geofencing is a crucial step. It allows you to specify the geographic area where your filter will be available. This could be as small as a single building or as large as an entire city. Use the map tool to draw your geofence accurately.
Cost and Payment
Customers who purchase Snapchat filters pay varying prices contingent upon the coverage area and duration. Small geofences for brief periods can go for a couple of bucks. Once all is in place, just go ahead and pay for it.
Review and Approval
Snapchat will review your filter within a few hours to a couple of days after submission. Ensure your filter meets Snapchat’s community standards to avoid rejection. Filters with excessive text, low-quality images, or inappropriate content may be declined.
Activating Your Filter
After approval, your filter will become active at your preferred time. Use Snapchat analytics to monitor its performance. You will be able to tell how many people used it and get information about the kind of users who used it.
Keeping it Simple
Overly complex designs can be overwhelming. Stick to clean, easy-to-understand graphics.
Make It Interactive
Filters that make people do things (like opening their mouths or raising their eyebrows) tend to get more attention.
Promoting Your Filter
Tell your friends and followers about your filter on social media. Let them know they should use it and share their pictures. The filter will reach a wider audience if more people use and share it.
Overcomplicating Designs
If you use too many elements, they’ll clog your filter. Keep it simple. Learn Snapchat’s regulations to prevent unnecessary rejections.
Conclusion
It’s really fun making create Snapchat filters. To capture interest, create a filter by following some simple tips. Show off your artistic side by using bright colors and bold pictures. You need to share what you design on every social media site there is. Make some Snapchat filters just for kicks, you might have a blast doing it plus the one that you make could get famous. Don’t miss out start today!